How I printed the Backpack handle
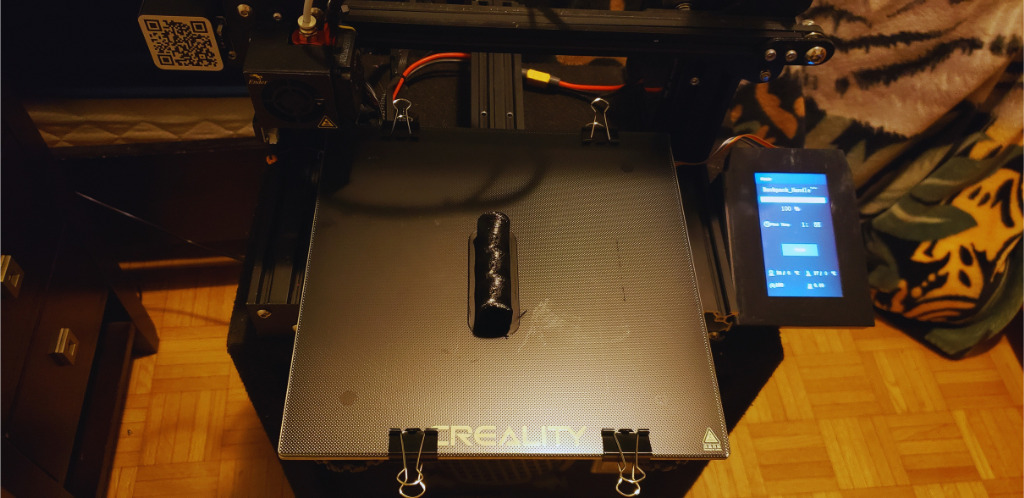
I researched for a day then found this backpack handle on Thingiverse.
The creator, of this states that it is very useful. Especially if you are a hiker.
Most backpacks have a narrow strap loop, which are attached to the top of the backpack.
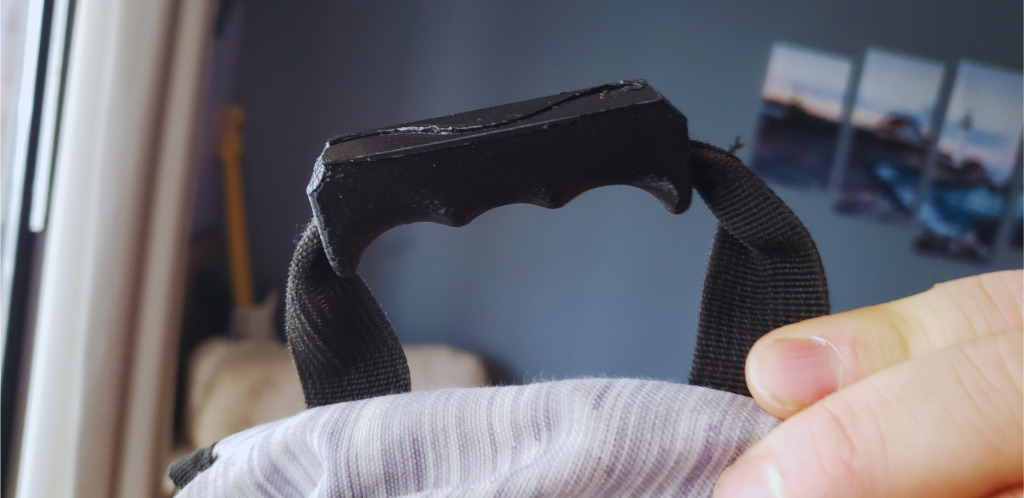
You can lift them up but it tends to cut into your fingers.
As this backpack handle slides well over the strap. In addition, it provides a strong and ergonomic grip.
It is solid when it is placed over the strap and also easily removable.
When you are tired of carrying your backpack on your shoulders. Then you can carry it with this backpack handle.
According to the creator of it, he uses it on his hiking backpacks and also on his day backpacks.
Strong filament is recommended to print it. PLA, PETG or ABS.
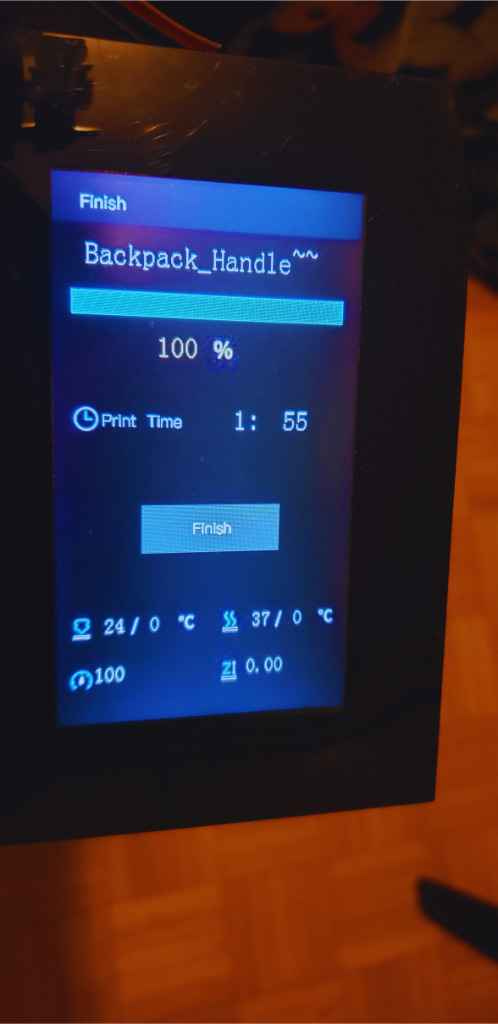
Check this Thingiverse link to find out what the creator suggests, before printing it.
I used Overture PLA Filament 1.75mm 3D Printer Filament, 1kg Spool (Black) to print it.
How to 3d print a backpack handle?
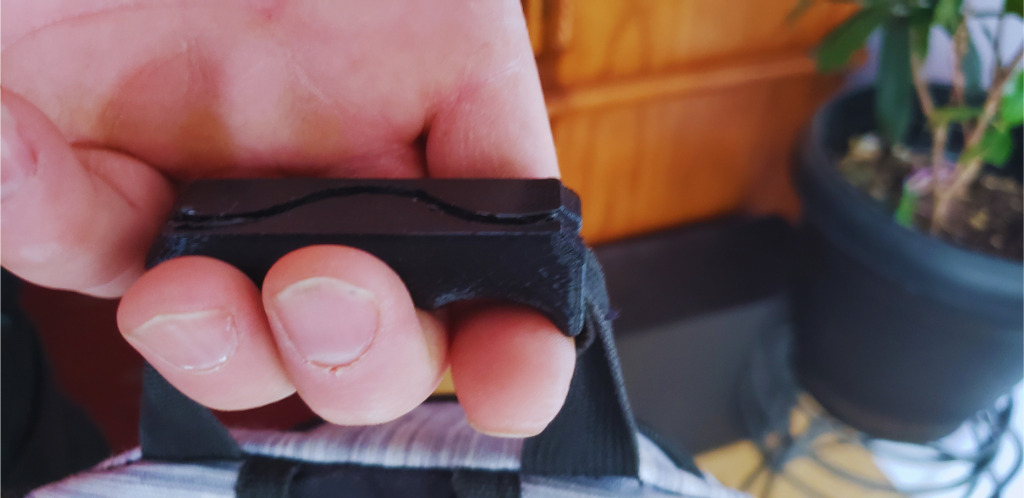
These are the steps below which I took to print it:
- Used the Cura software to slice the file and then exported it to the SD card.
- I used soap and warm water to clean the glass bed, then dried it with a paper towel.
- Reinstalled the printer’s glass bed
- After that I checked whether everything was good on my ender 3 pro 3d printer.
- After placing the filament on the spool holder, levelled the bed.
- Inserted the SD card into the printer. Turned the printer on and did auto home on it.
- Checked to see whether the printer’s bed level was accurate by, printing the chep bed file.
- Once it was ready to print, I printed the file from TIF.
- Kept an eye on the printer while it was being printed.
- I let the printer cool down before I took the print off.
- Auto homed the printer and then turned the power button off.
- Took the SD card out of the printer.

