Here’s how I 3d printed the Key ring belt clip
My hubby uses and has lots of keys because of his work. Sometimes it falls down or in worst case scenarios, he loses them.
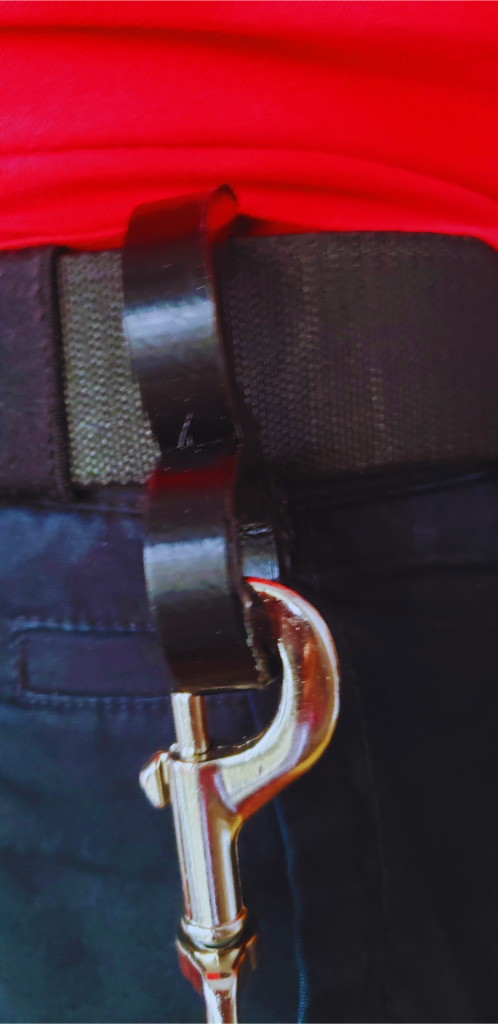
I thought to design him a key ring belt clip, which he can clip to his belt.
Also, which would not fall off.
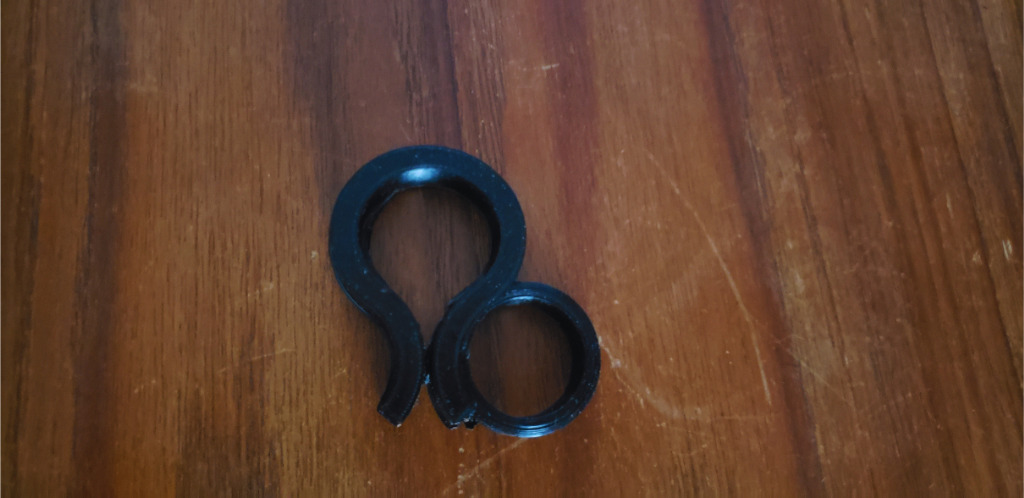
I designed it via Tinkercad and then I printed it.
I recommend using a strong filament to print it so it will not fall off easily.
I used Overture PLA Filament 1.75mm 3D Printer Filament, 1kg Spool (Black) to print it.
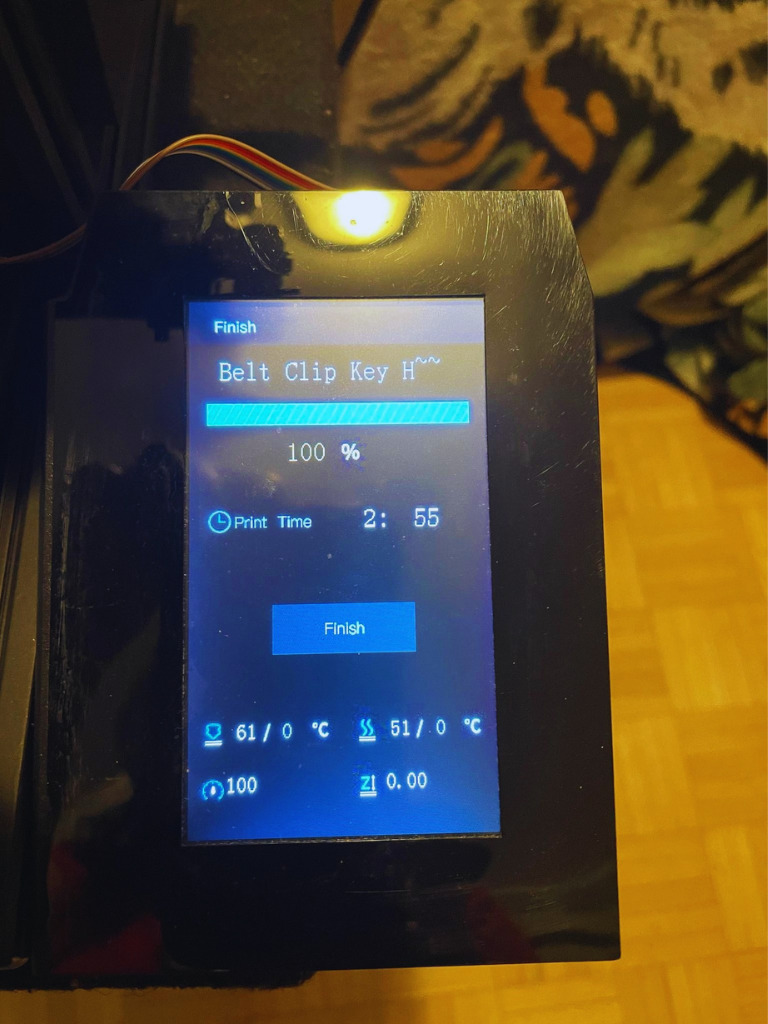
These are the steps below which I took to print it:
- I sliced the file with Cura software and then exported it to an SD card.
- I used soap and warm water to clean the glass bed, then dried it with a paper towel.
- Reinstalled the printer’s glass bed.
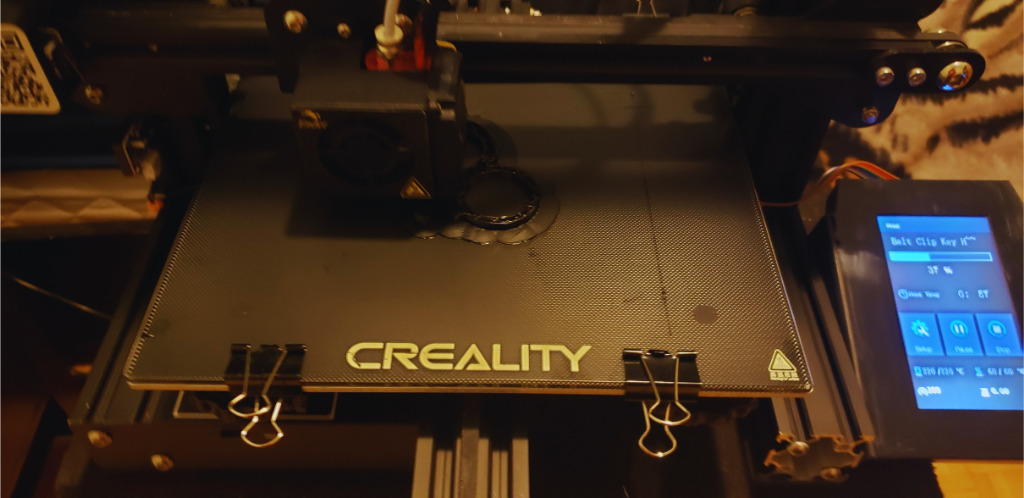
- After that, I checked to see if everything was working on my Ender 3 Pro 3D printer.
- I levelled the bed after placing the filament on the spool holder.
- I put the SD card in the printer. I turned on the printer, did an auto home, and set the temperature.
- By printing the chep bed file, I tested the printer’s bed level.
- I printed the file from TIF once it was ready to print.
- I kept an eye on the printer while it was printing.
- I waited for the printer to cool down before removing the print.
- The printer was auto-homed, and then turned the power button off.
- I removed the SD card from the printer.
