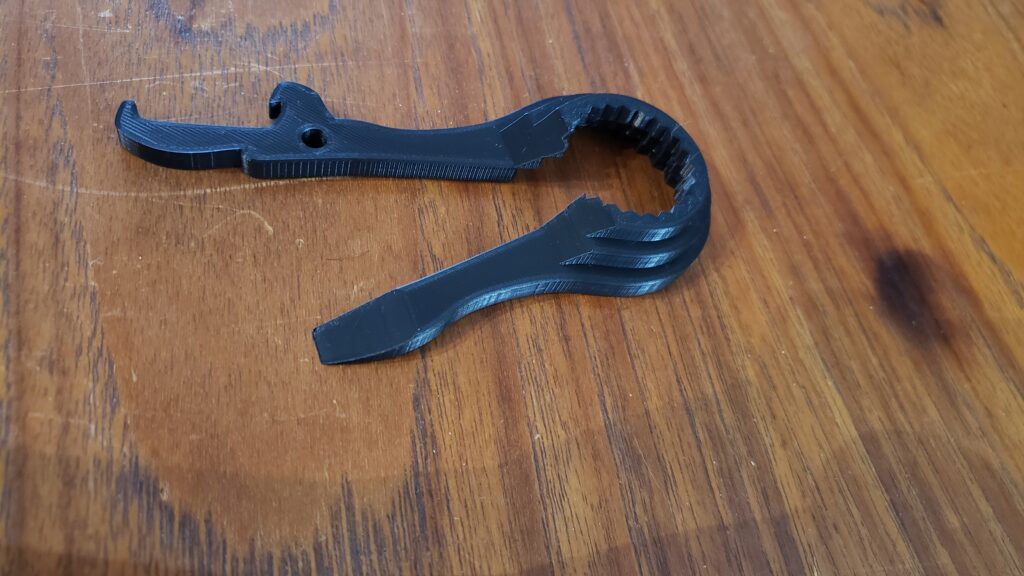
Here is how I 3d printed the universal bottle opener
I researched for a day or so on how to 3d print a bottle opener. Then downloaded the file and printed it out.
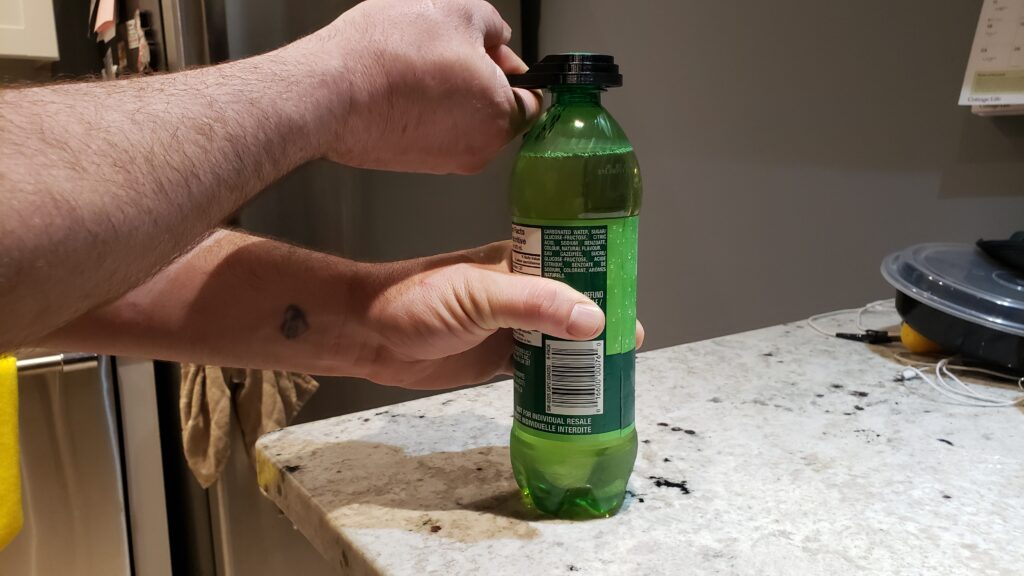
The final stage was to test the opening range of bottles and cans.
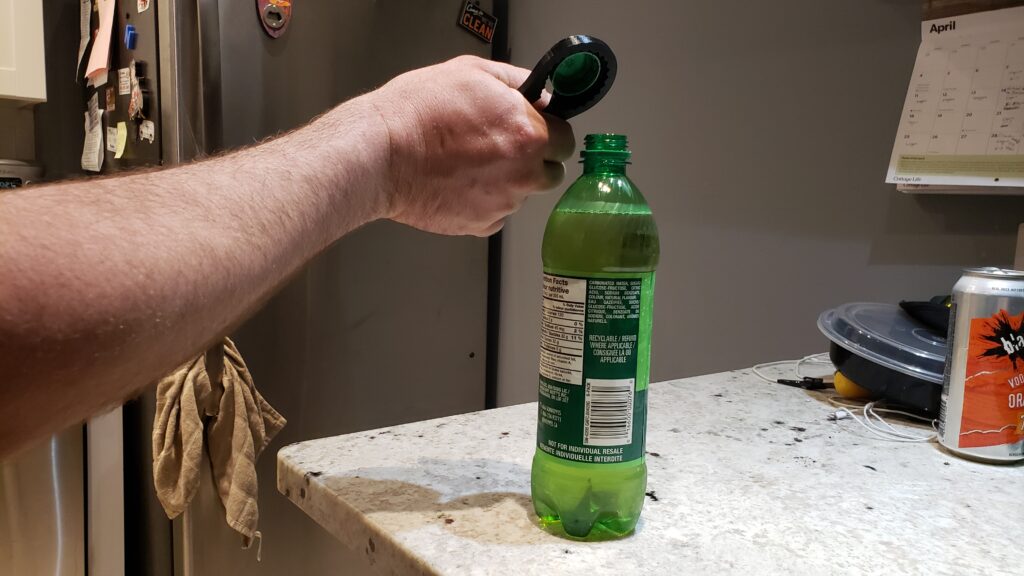
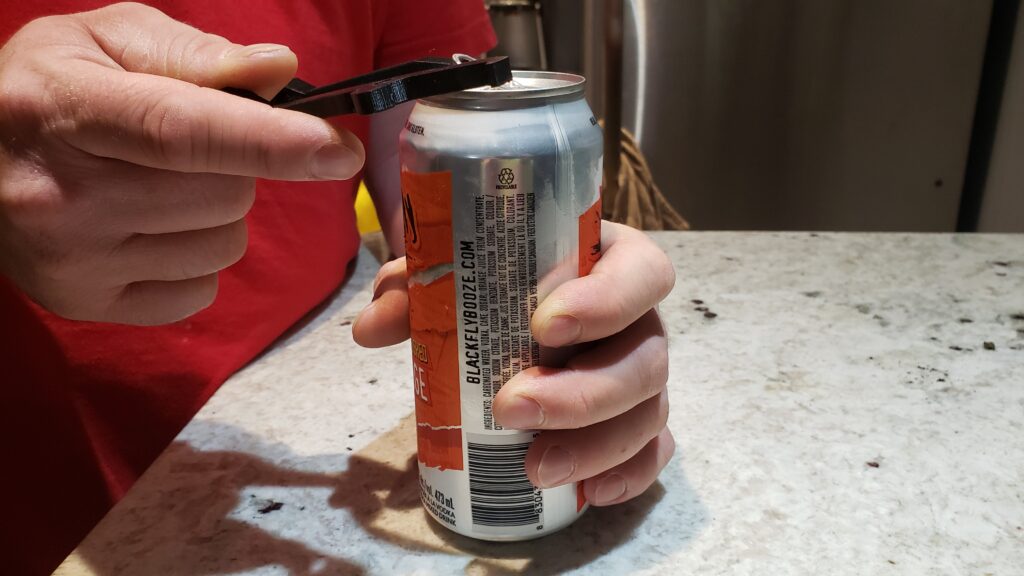
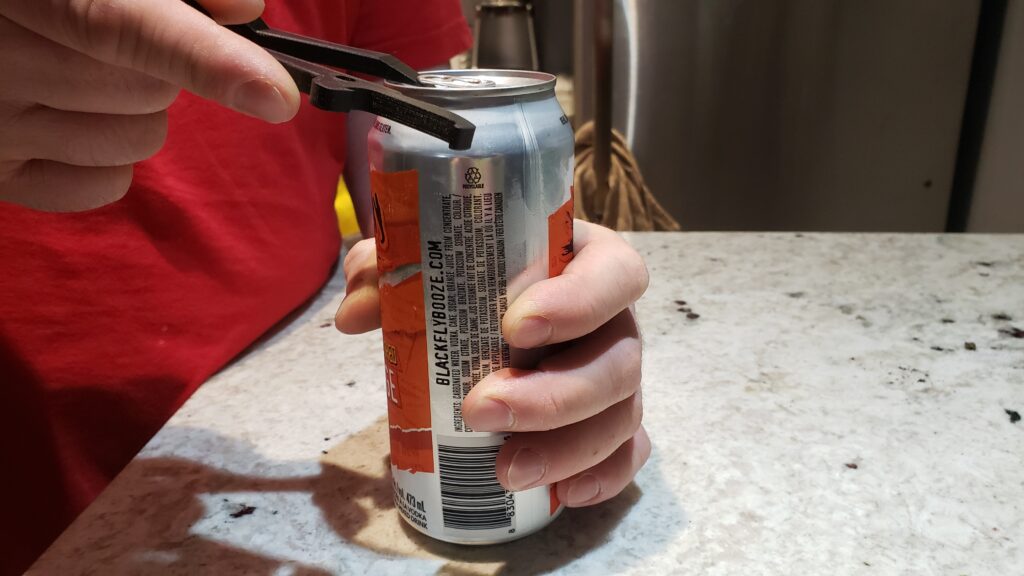
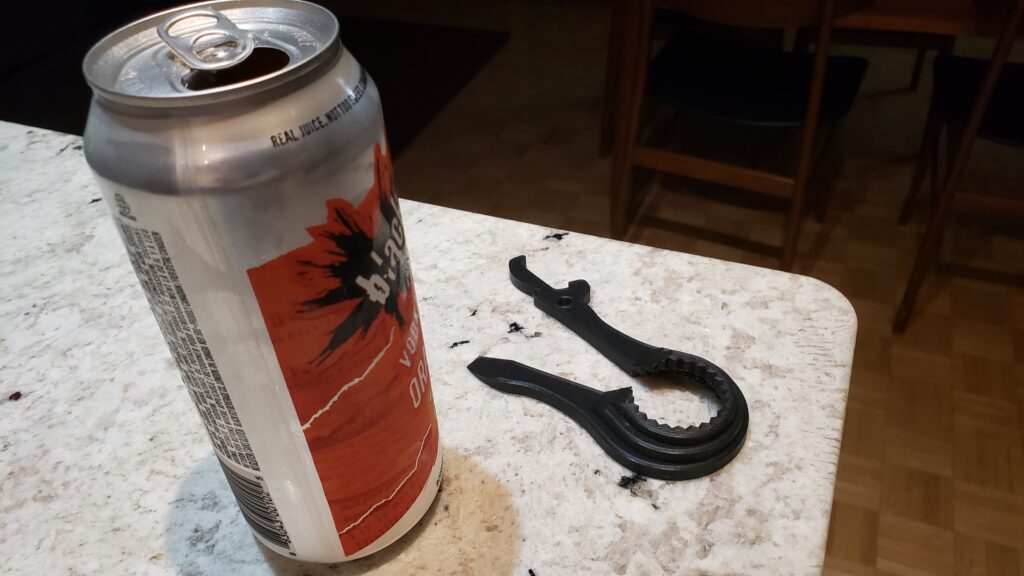
This universal bottle opener assists people who struggle to open the tightened bottles. Moreover, hard to open jars.
It is useful for anyone who has arthritis. Or with any other form of disability to open large juice bottles, pop tops and even cans.
Travis Corbett’s, (the designer) mom had Cushing syndrome. She faced problems opening bottles during her treatment. She had a bottle opener but not one that would fit a large bottle.
He designed the Universal bottle opener to assist his mom in opening bottles. Also, soda bottles, canned drinks and pop tops.
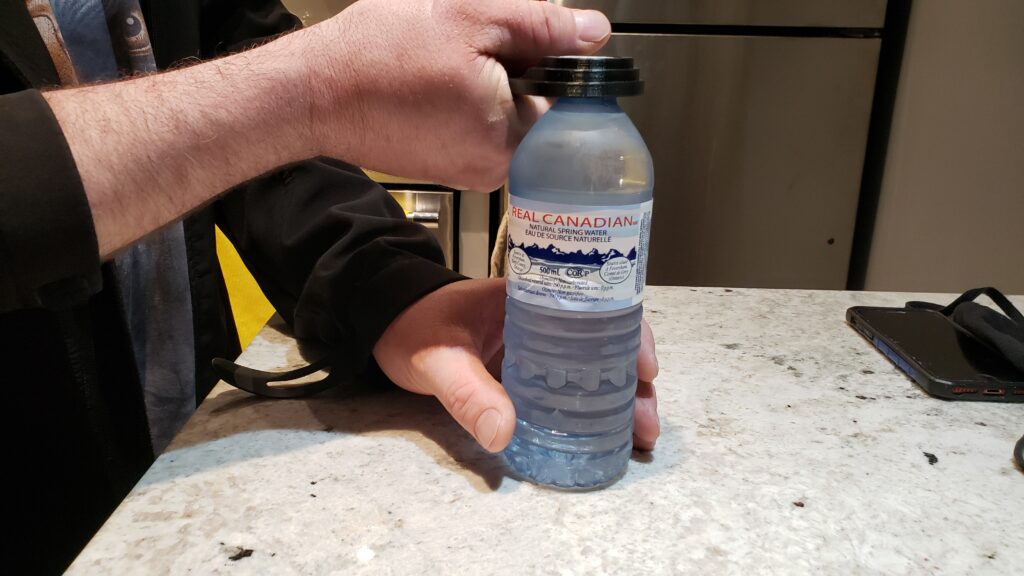
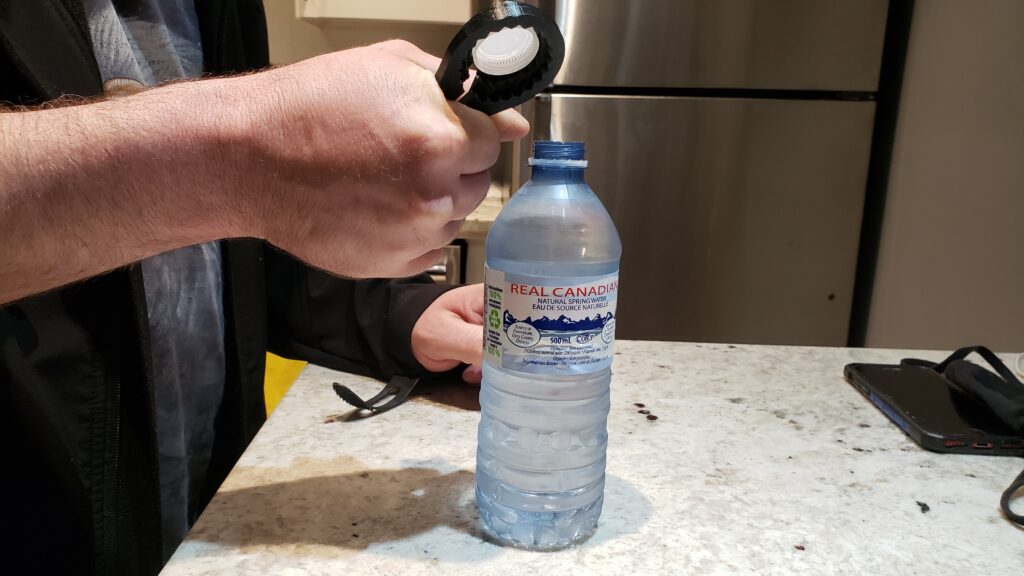
My mom has arthritis, so I decided to print it to assist her.
The filament should be strong enough to open the bottle opener without breaking it. So thus, PLA is a good option.
Printing with the support assists the teeth and can print without any issues.
Check the Thingiverse website for the recommended filament before printing your universal bottle opener.
You can use different colors of filaments to print your universal bottle opener. The sky’s the limit when it comes to different colors of filaments.
How to 3D print a universal bottle opener?
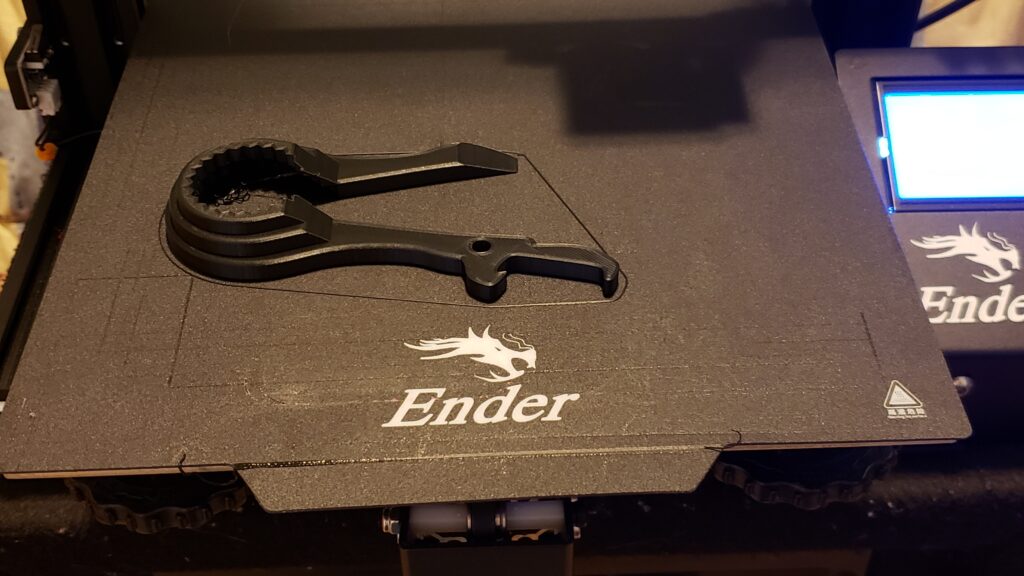
I have used HATCHBOX 3D Printer Filament, 1 kg Spool, 1.75 mm, black to print the universal bottle opener.
PLA is the kind of filament the creator of the universal bottle opener has recommended. To ensure the strength of this model, the designer suggests a high resolution. Also, high infill percentage (between 60% and 100%) .
I downloaded the file from Thingiverse.
These are the steps below which I took to print the universal bottle opener:
- Sliced the file using Cura and then exported it to the SD card. After that I checked to see whether everything was good on my ender 3 pro 3d printer.
- Placed the filament on the spool holder and then levelled the bed.
- Inserted the SD card into the printer. Turned the printer on and did auto home on it.
- Checked to see whether the printer’s bed was accurate, by printing the chep bed file.
- Once it was ready to print, I printed the file from TIF.
- Kept an eye on the printer while it was being printed. I let the printer cool down before I took the print off.
- Auto homed the printer and then turned the power button off.
- Took the SD card out of the printer.
