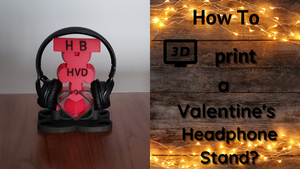
How I 3d printed the Valentine’s Headphone Stand
We might receive an affiliate commission if you purchase using links on our website. For more information click here.
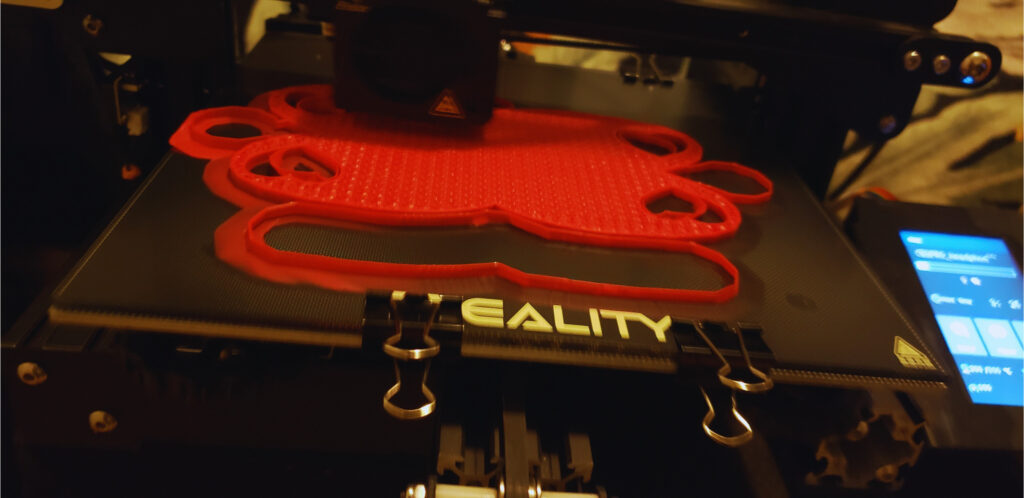
This 3d printed Valentine’s headphone stand was designed via Tinkercad.
It is one of my husband’s gifts for this Valentine’s day.
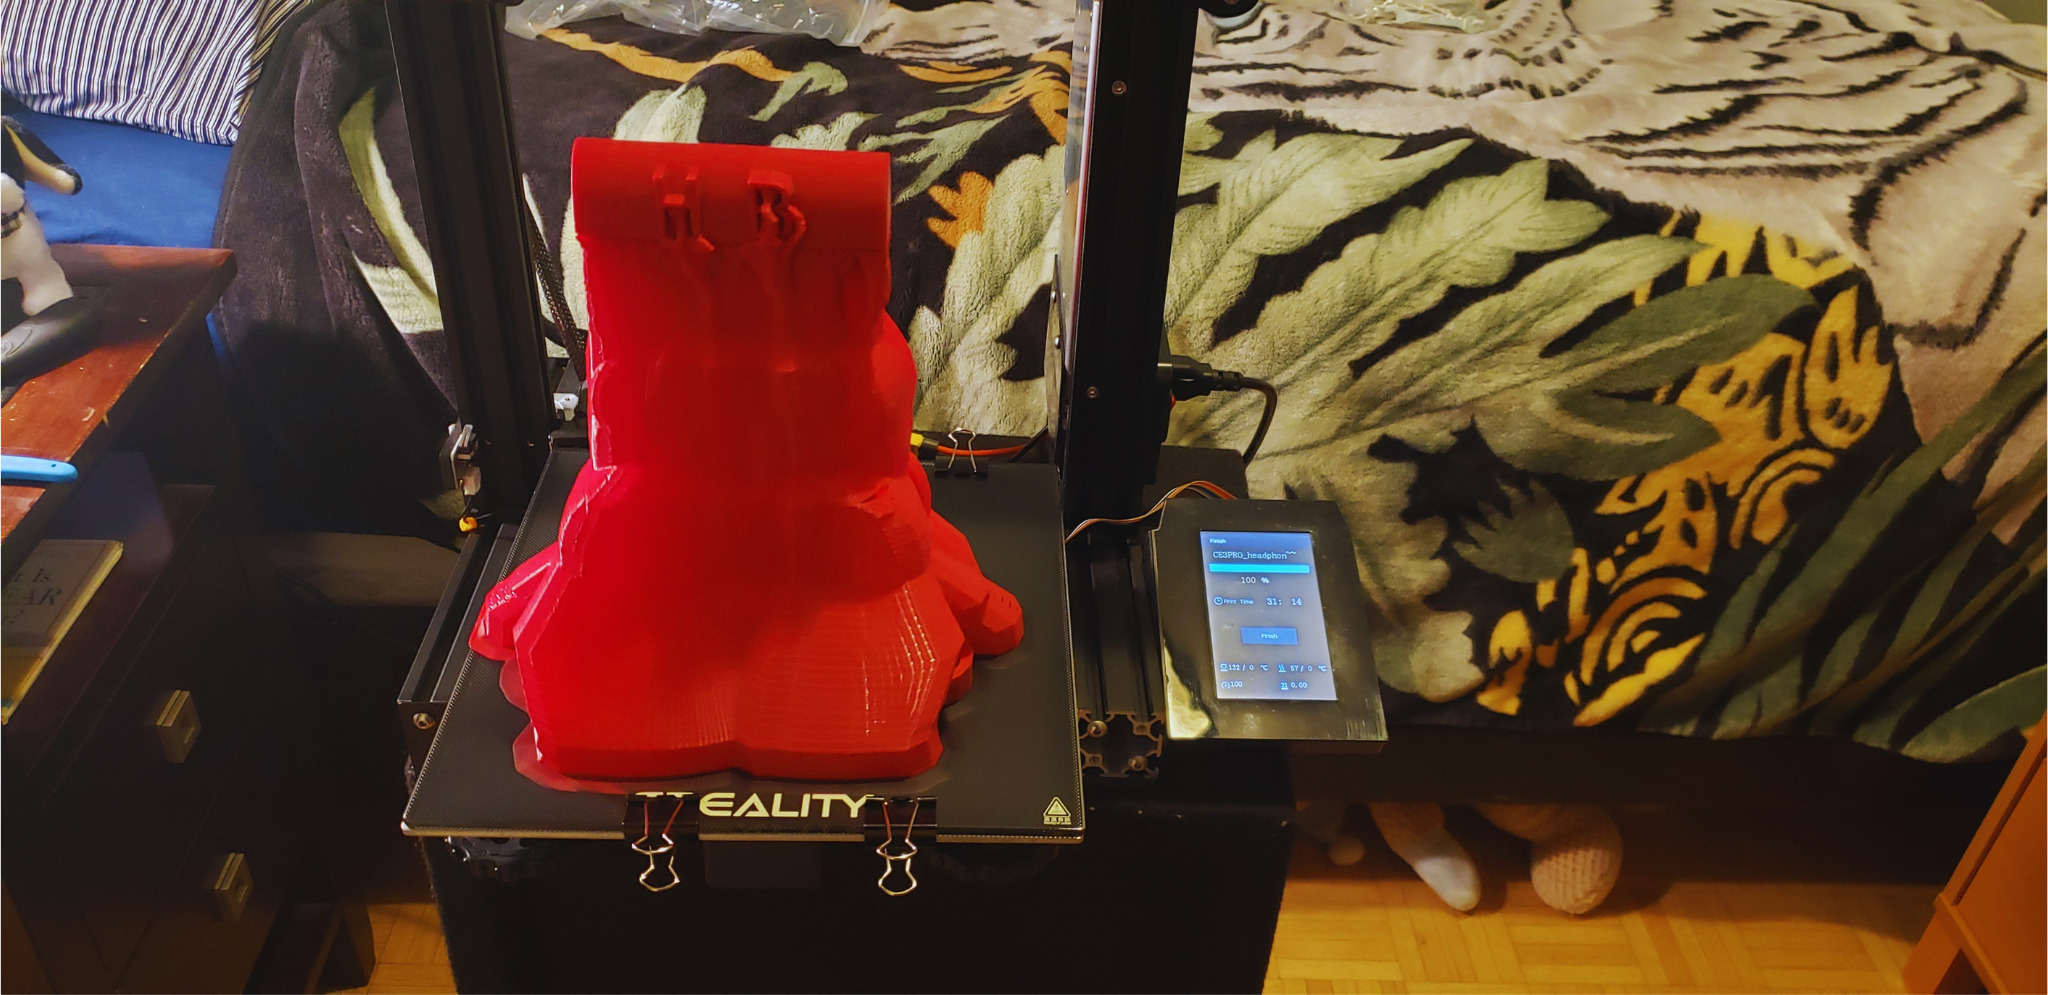
I used DURAMIC 3D PLA Plus (PLA+) Filament 1.75mm Wine Red 1kg, 3D Printer Filament to print it.

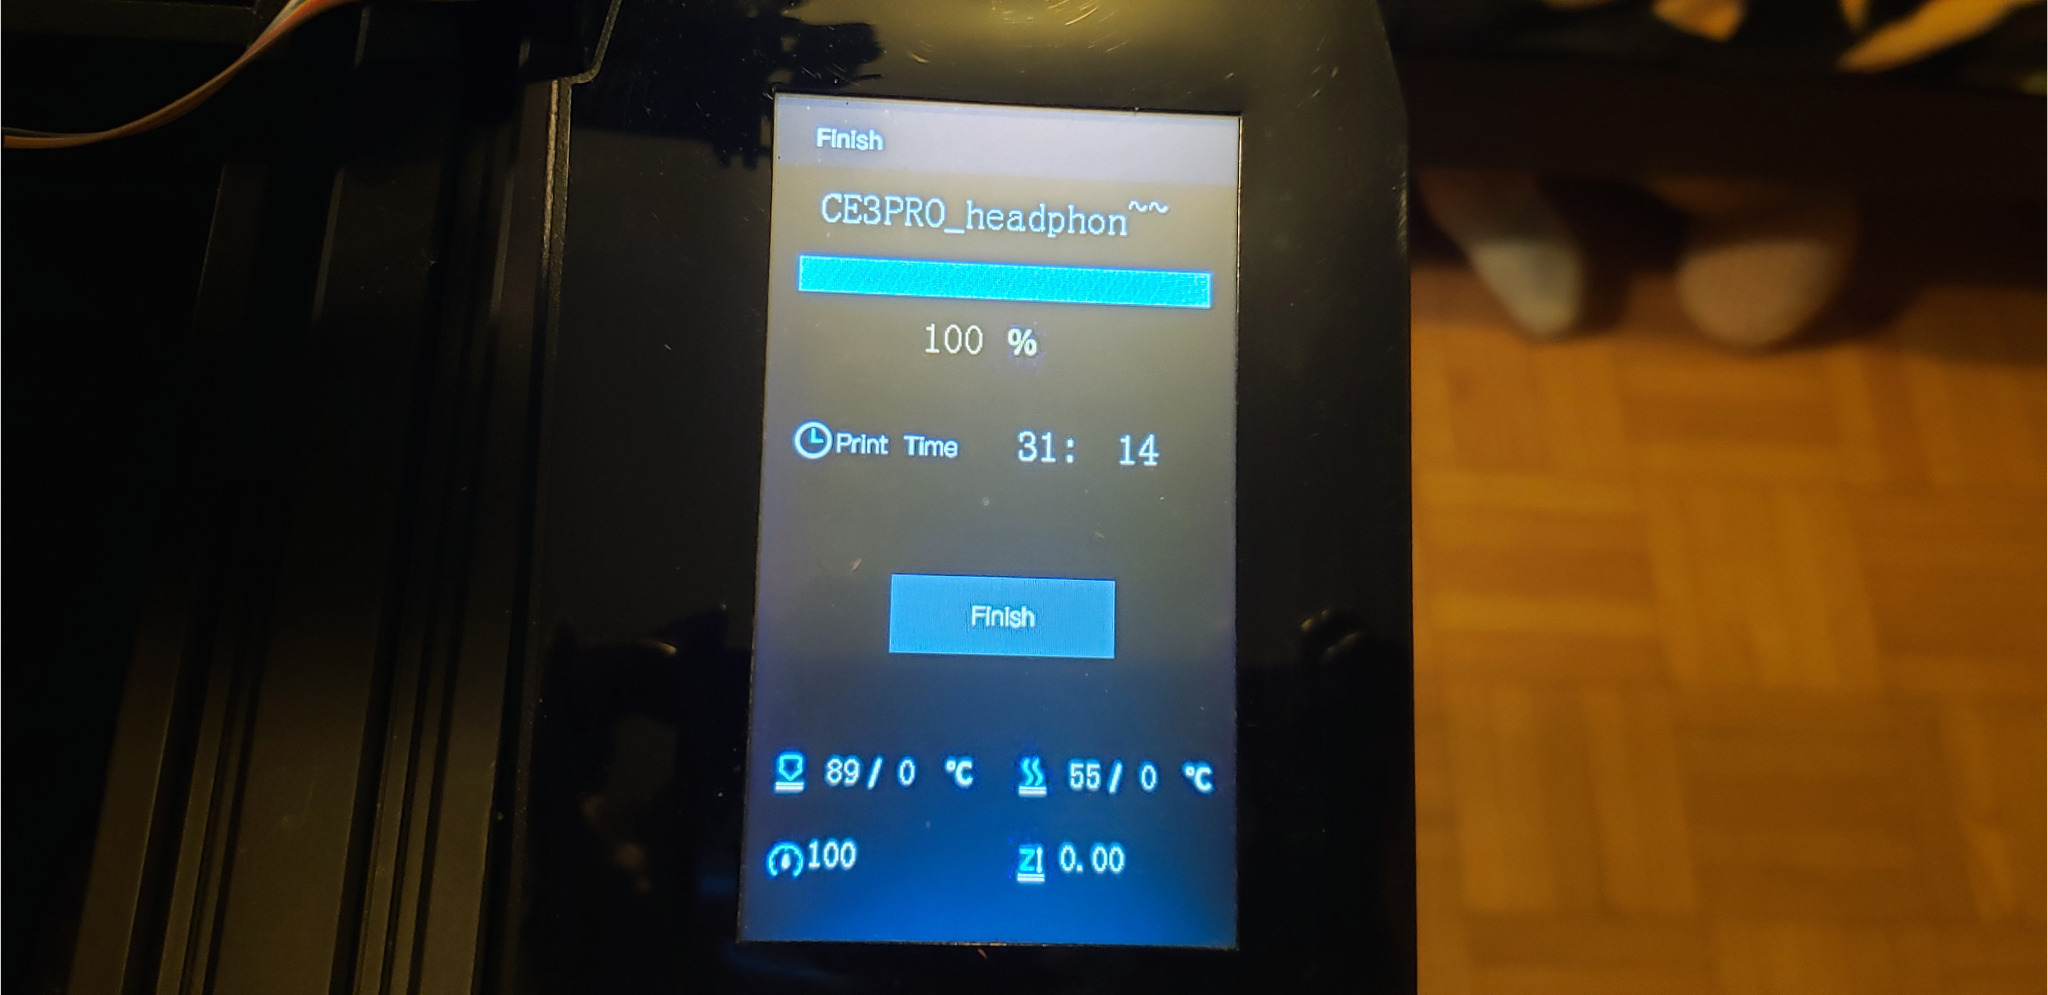
How to 3d print a Valentines headphone stand?

These are the steps below which I took to print the Valentines headphone stand:
- Used the Cura software to slice the file and then exported it to the SD card.
- I used soap and warm water to clean the glass bed, then dried it with a paper towel.
- Reinstalled the printer’s glass bed
- After that I checked whether everything was good on my ender 3 pro 3d printer.
- After placing the filament on the spool holder, levelled the bed.
- Inserted the SD card into the printer. Turned the printer on and did auto home on it.
- Checked to see whether the printer’s bed level was accurate by, printing the chep bed file.
- Once it was ready to print, I printed the file from TIF.
- Kept an eye on the printer while it was being printed.
- I let the printer cool down before I took the print off.
- Auto homed the printer and then turned the power button off.
- Took the SD card out of the printer.
Brian used Acrylic color black to paint the base and the edges of the hearts.
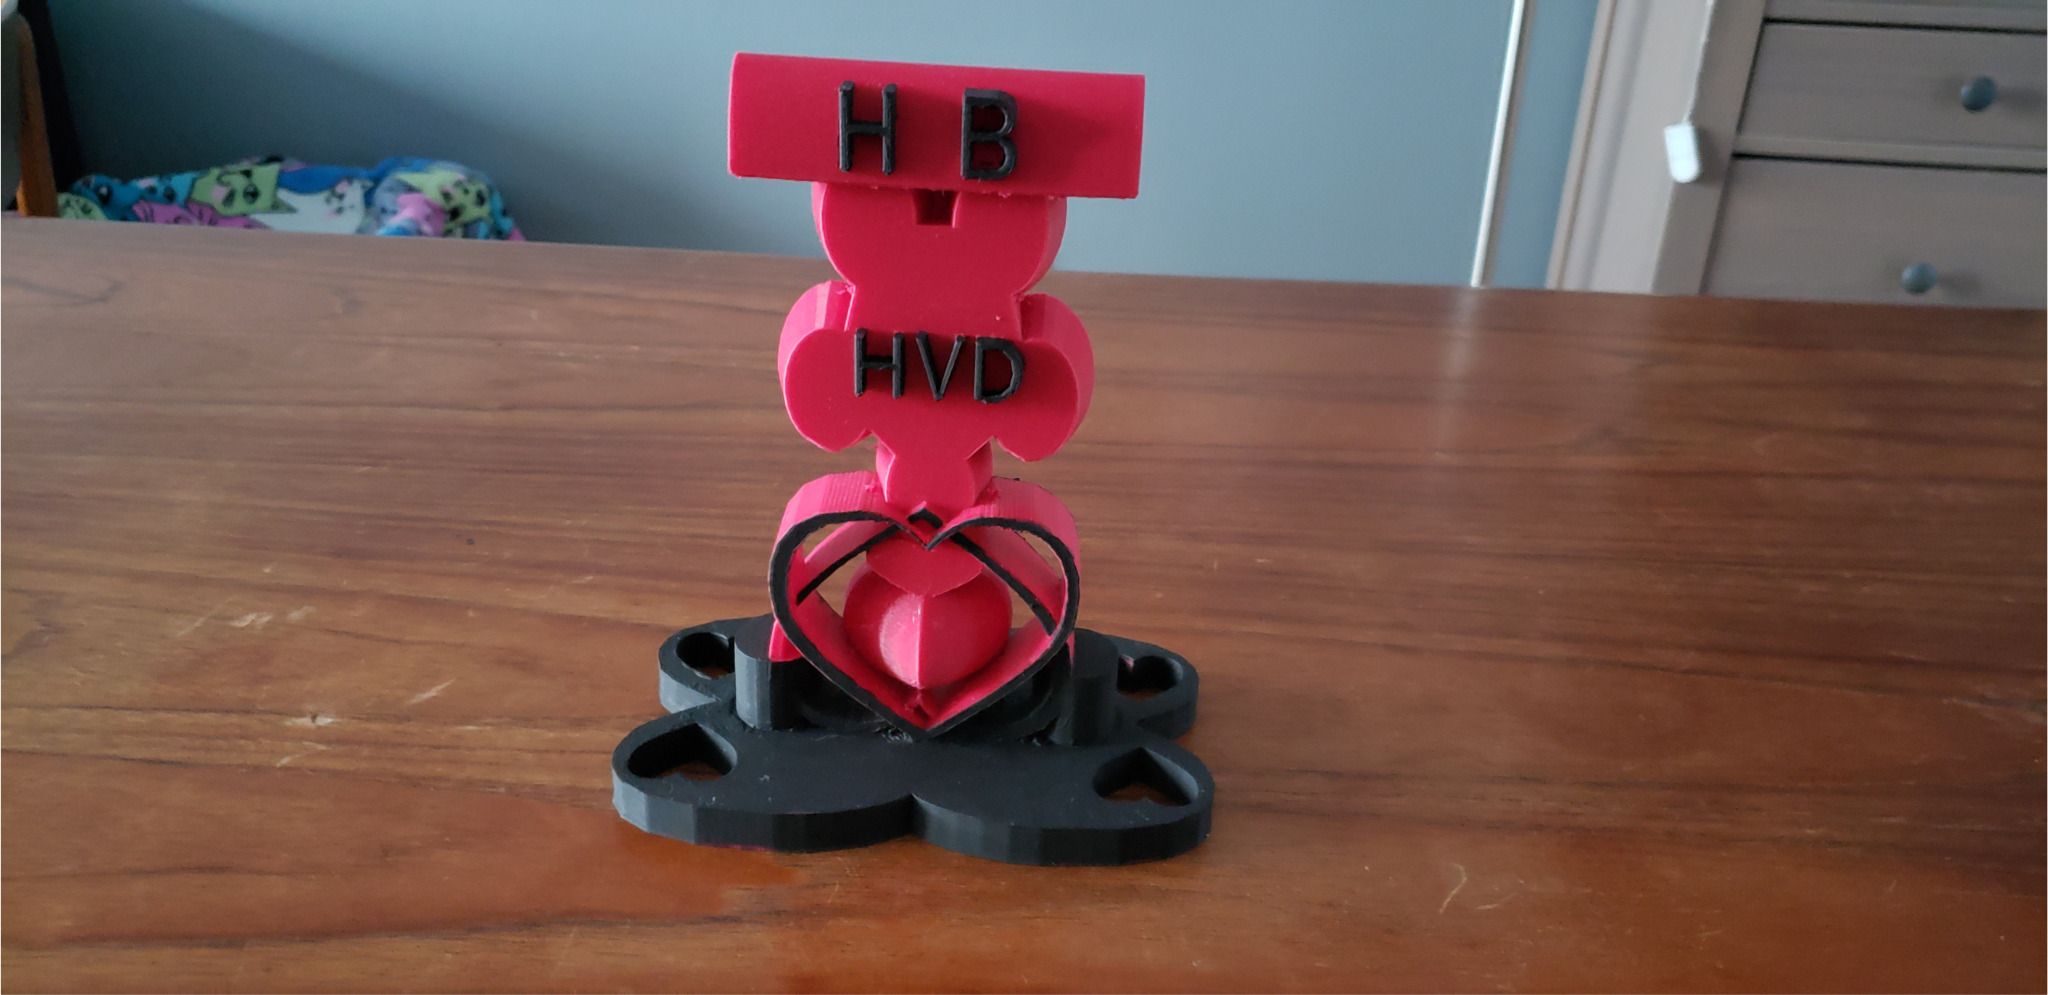
In addition, he used Acrylic color black to paint the letters.
Check on Amazon
