How I 3d Printed the Jewelry Stand
We might receive an affiliate commission if you purchase using links on our website. For more information click here.

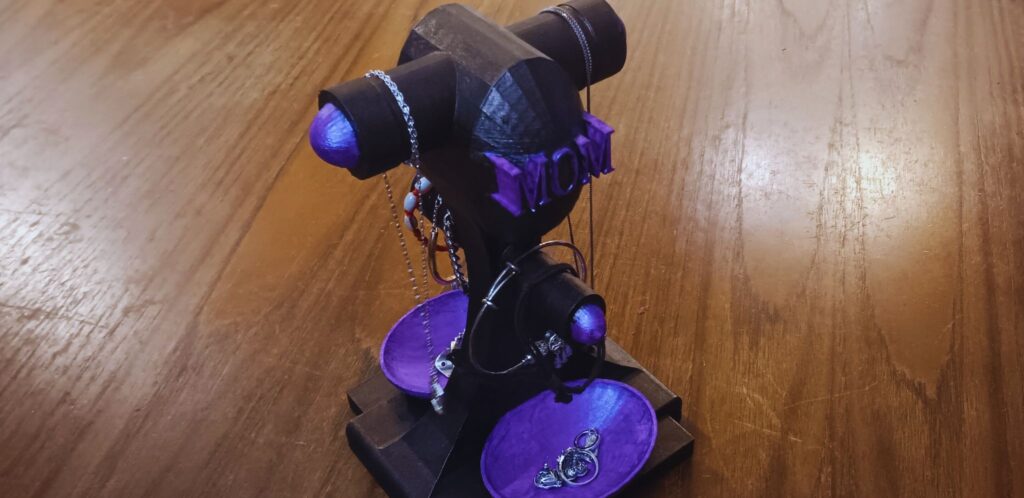
I designed this Jewelry stand in Tinkercad for my mom’s birthday in 2024.
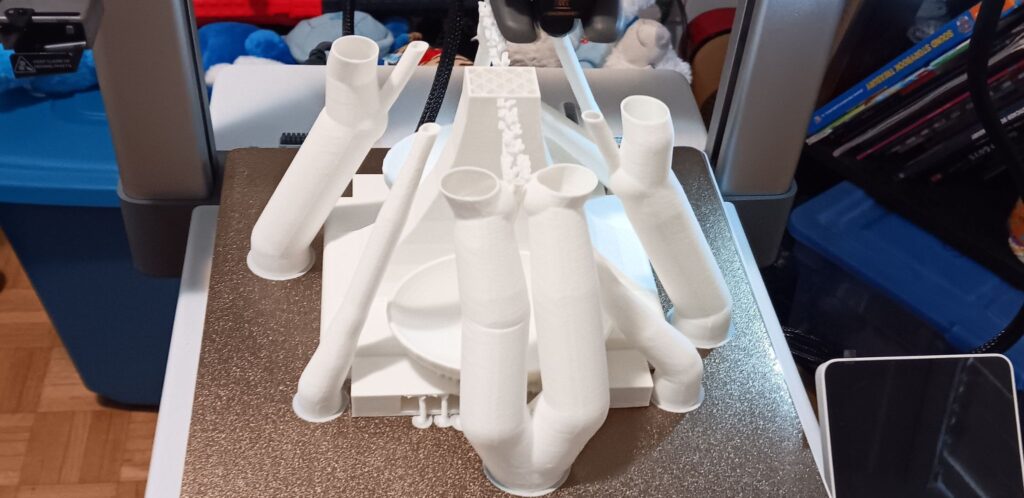
I used OVERTURE Matte PLA Filament,1.75mm 3D Printer Filament, 1kg Spool (Matte White) to print it.
Check on AmazonIf you are in Canada then check on Amazon Canada:
Amazon Canada
These are the steps that I took to print it:
- I turned the Bambu Lab A1 3d Printer on.
- Then, I went to the settings of the printer to calibrate it.
- I put the filament on the spool holder.
- Ran the filament through the tube into the direct drive by slowly pushing it in.
- After that, I went to the printer’s Filament settings to load the filament.
- I went to the Bambu Studio App on my PC and sent the Jewellery Stand STL file via WiFi to the printer for printing.
- I kept an eye on it via the camera on my Bambu Handy App from my Smartphone throughout the process.
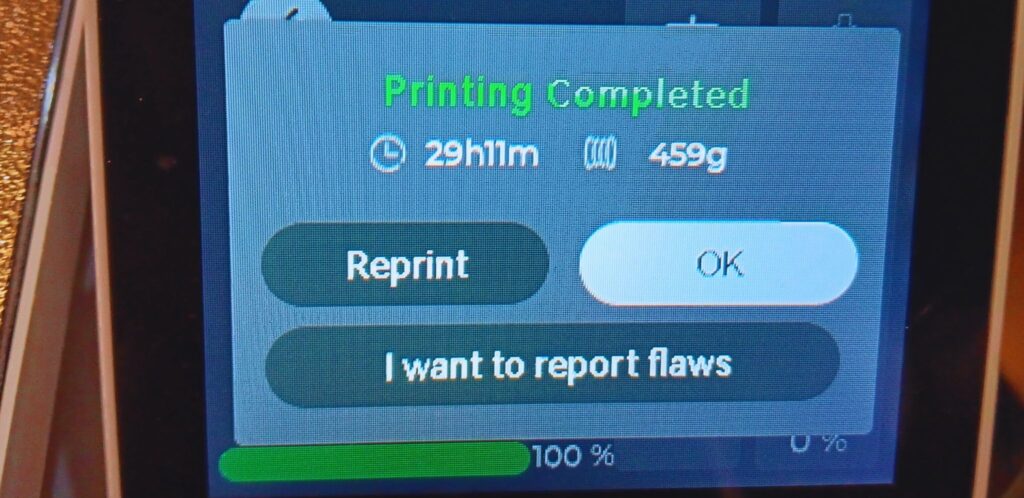
- I turned the printer off once it was finished.
- I let the printer cool off, then took the stand out.

Brian used Acrylic colours, Black Flash, and Purple Flash to paint it.
Check on AmazonIf you are in Canada then check on Amazon Canada:
Amazon Canada
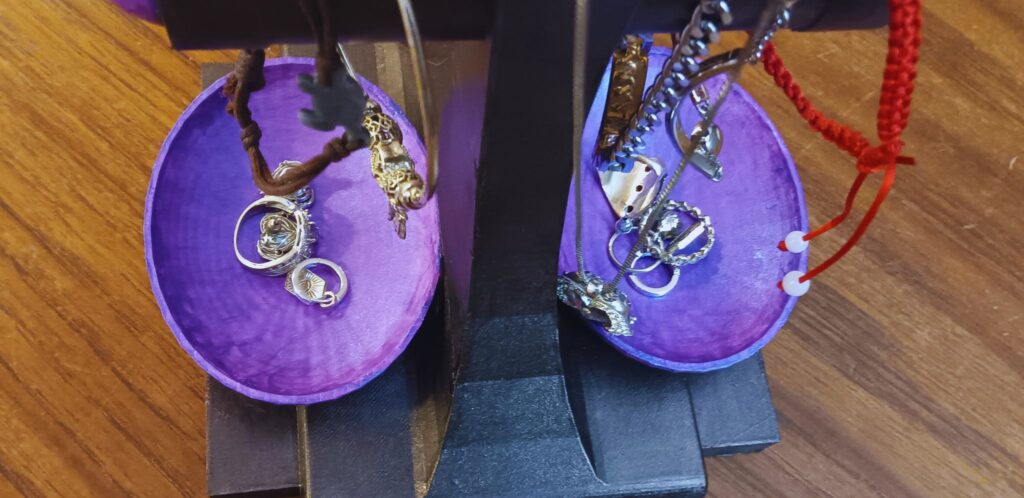
Mom puts her earrings, necklaces, bracelets, rings, and bangles in her 3d Printed Jewelry Stand.


