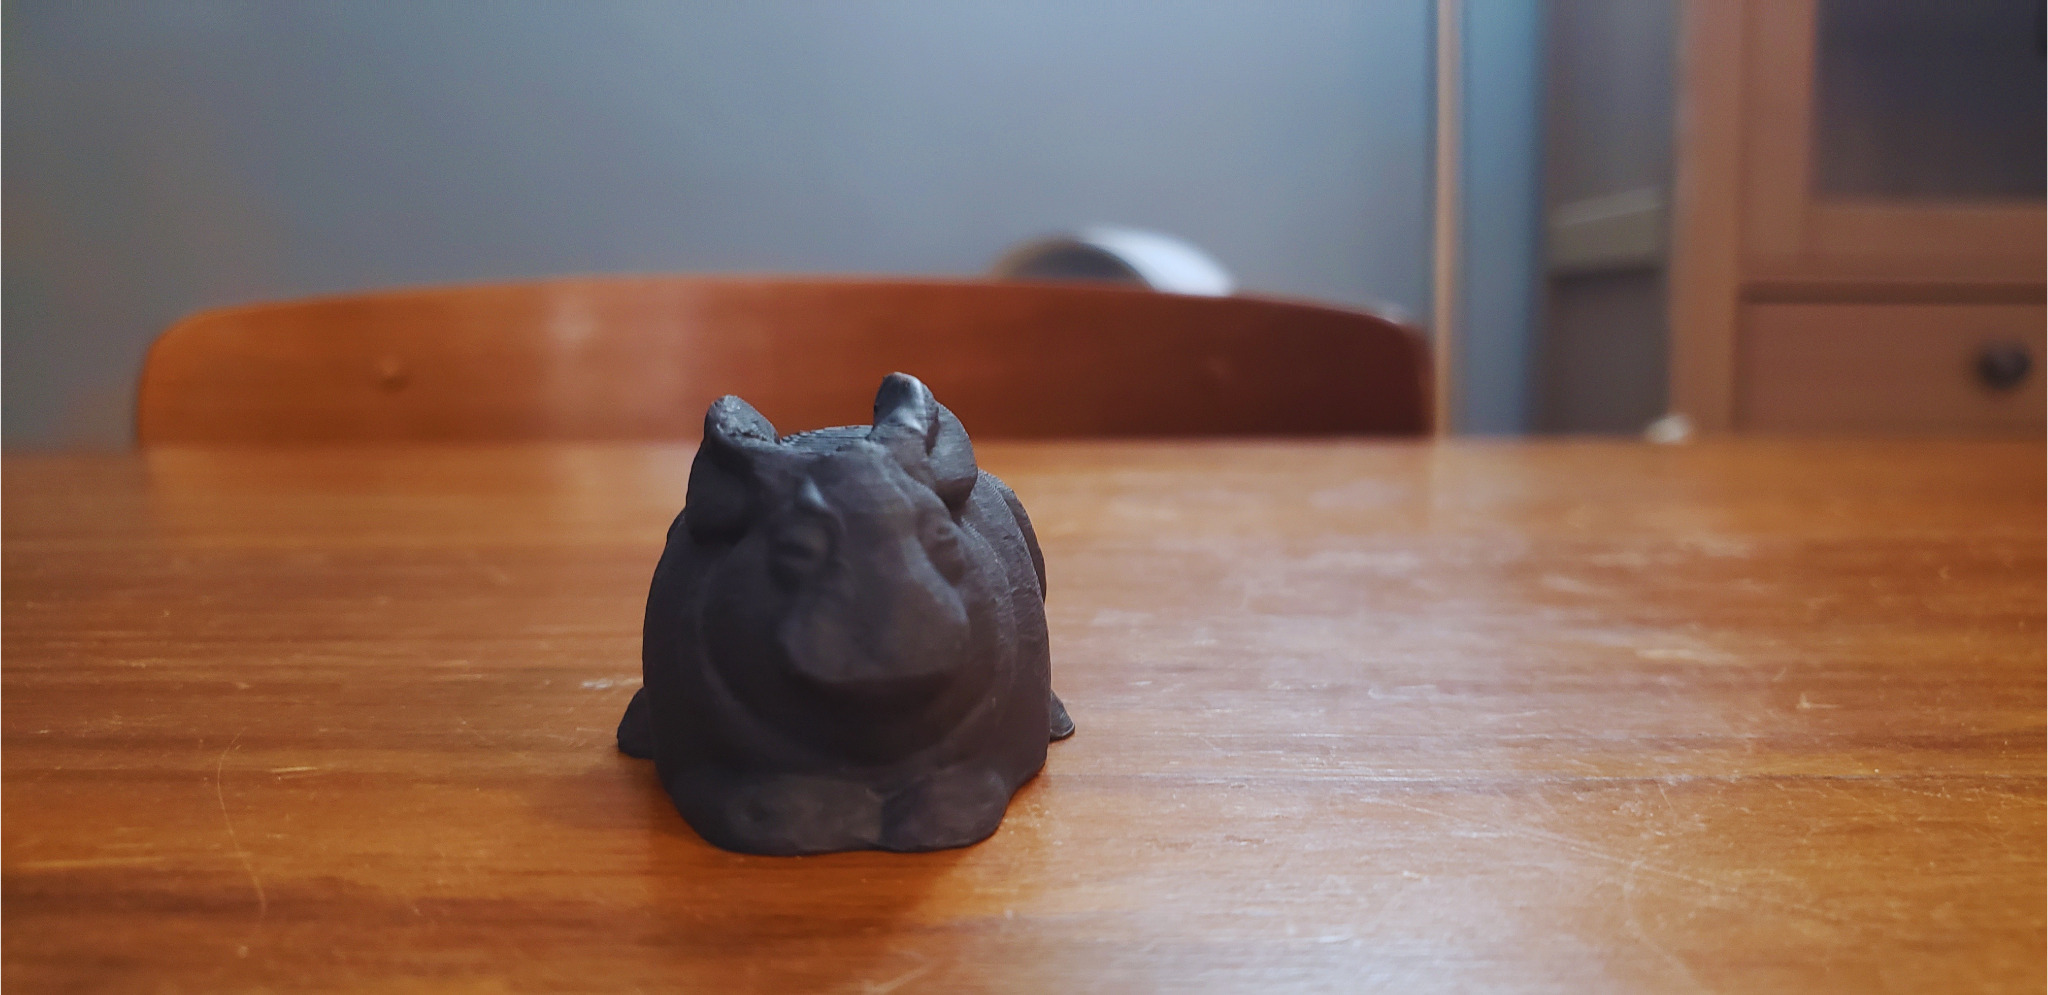
Here’s how I 3d printed the stone rabbit
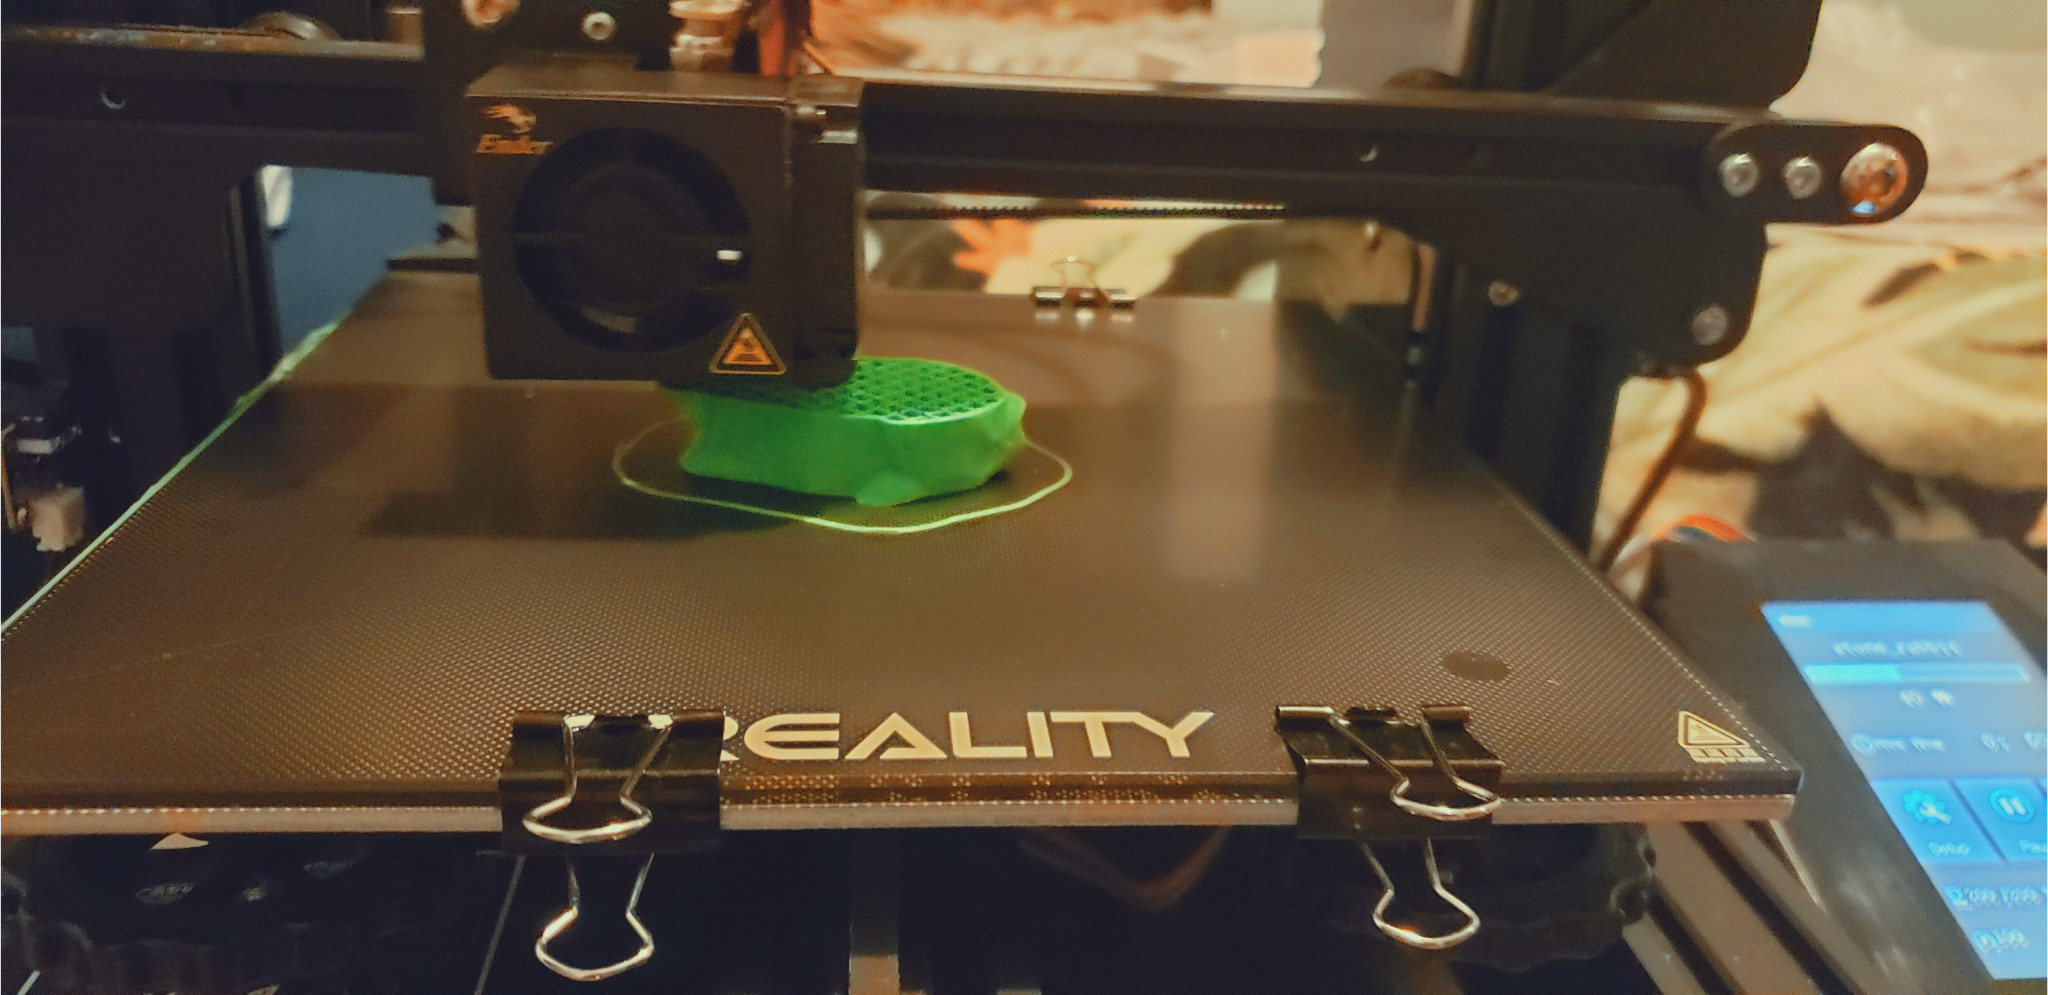
I researched for a day on various kinds of 3d printed rabbits.
I went with the file titled Two Rabbits on Thingiverse site and then downloaded it.
Stone rabbit and star gazing rabbit are two of the files which are under two rabbits.
Both of them which are souvenirs. The creator of the rabbits scanned them using 123D Catch.
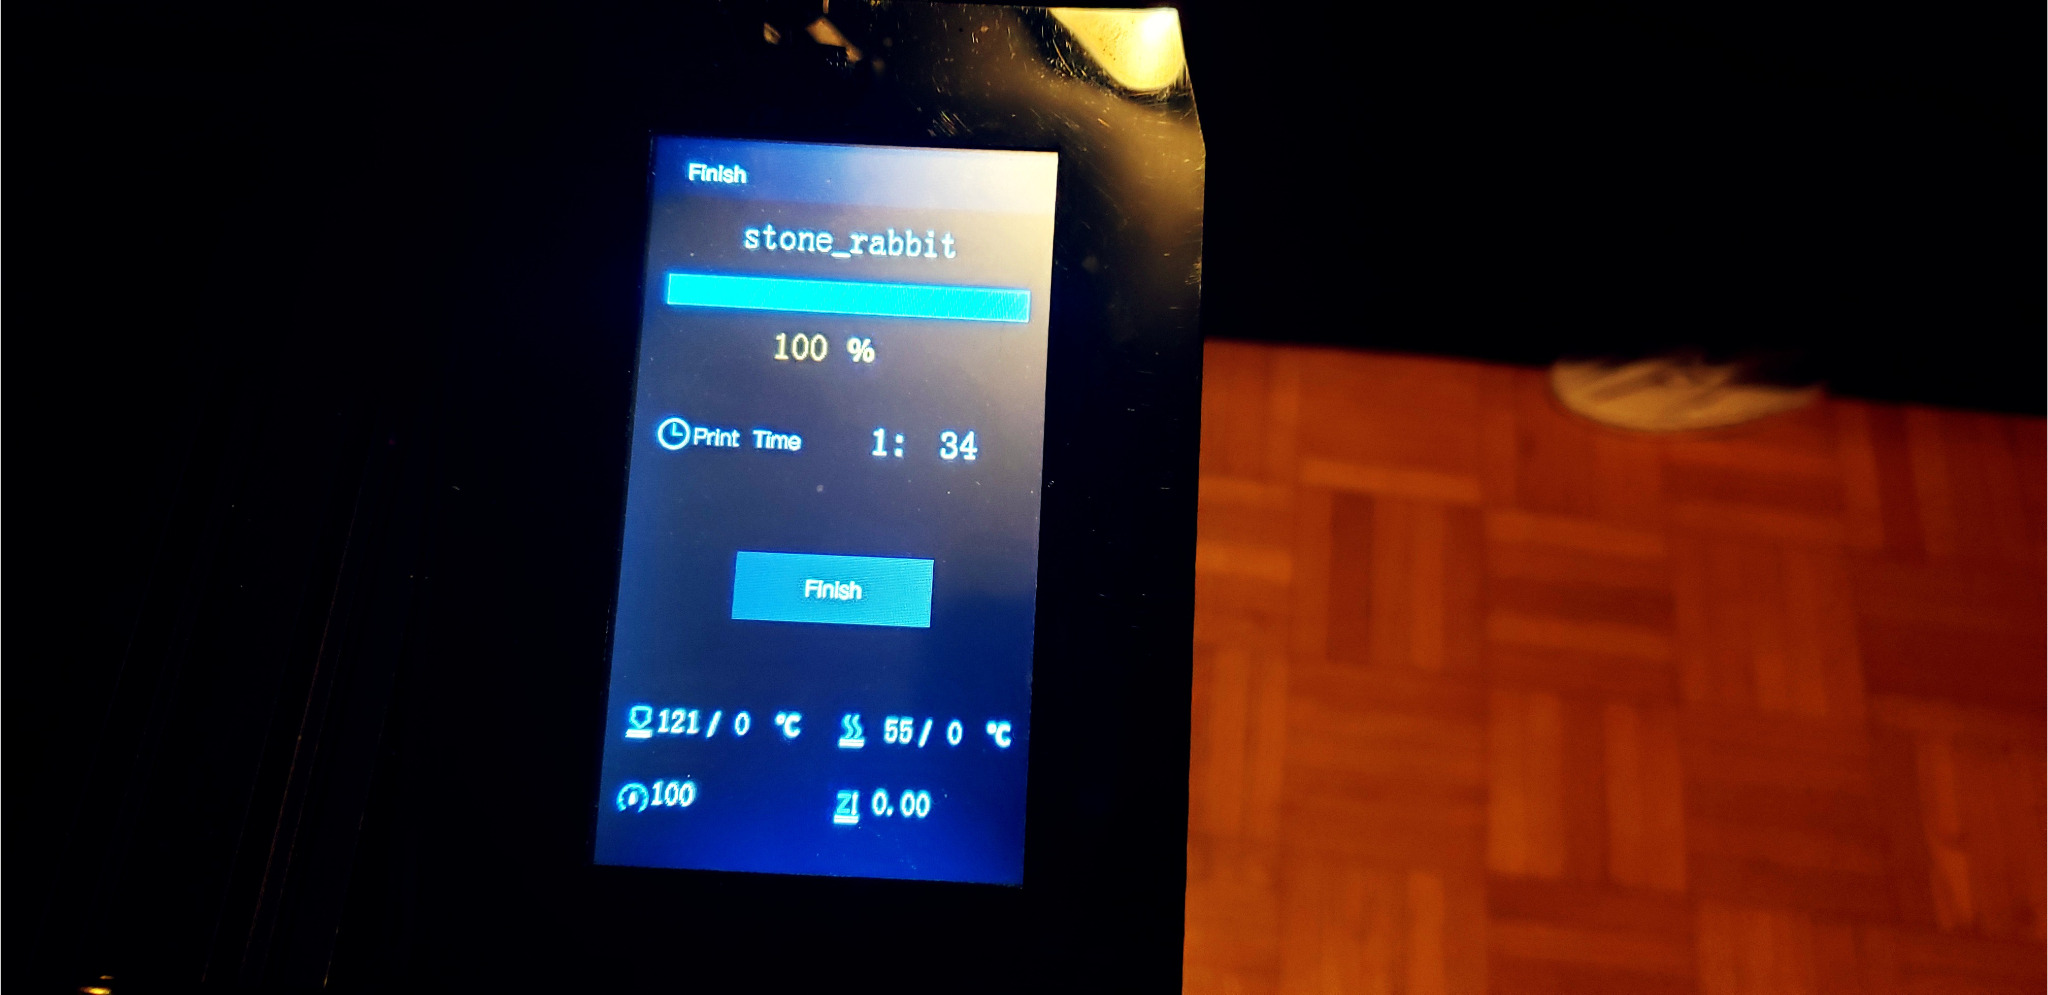
I chose to go with the stone rabbit.
Stone rabbit is 65mm long.
The creator of these rabbits suggested printing without rafts and supports.
Check the link on Thingiverse site to read the creator’s suggestions.
How to 3d print the stone rabbit?
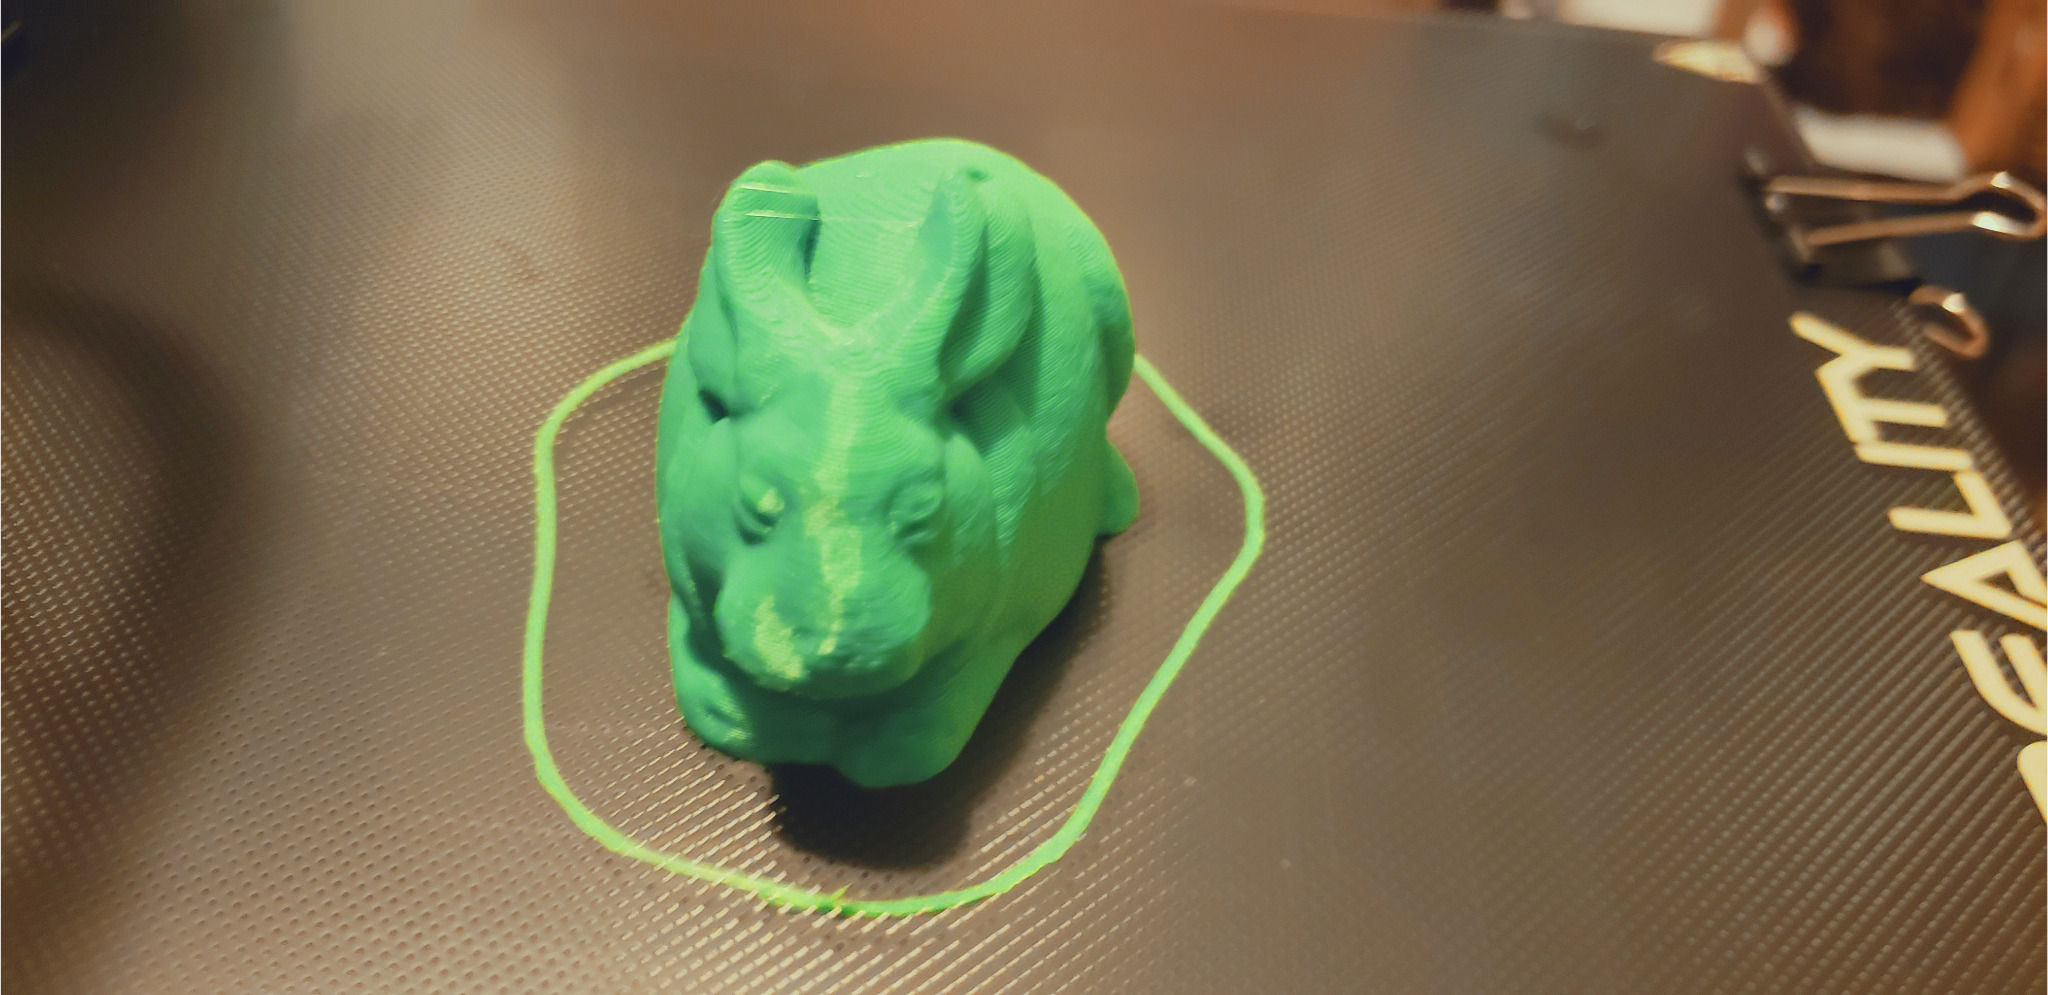
I used DURAMIC 3D PLA Plus (PLA+) Filament 1.75mm Green 1kg, 3D Printer Filament Tough PLA to print the stone rabbit.
Get colorful with your choice of the filament. Possibilities are endless.
These are the steps which I took to print it:
- I sliced the file with Cura software and then exported it to an SD card.
- I used soap and warm water to clean the glass bed, then dried it with a paper towel.
- Reinstalled the printer’s glass bed.
- After that, I checked to see if everything was working on my Ender 3 Pro 3D printer.
- I levelled the bed after placing the filament on the spool holder.
- I put the SD card in the printer. I turned on the printer, did an auto home, and set the temperature.
- By printing the chep bed file, I tested the printer’s bed level.
- I printed the file from TIF once it was ready to print.
- I kept an eye on the printer while it was printing.
- I waited for the printer to cool down before removing the print.
- The printer was auto-homed, and then turned the power button off.
- I removed the SD card from the printer.
Brian mixed Acrylic colors black and white to paint the rabbit.
