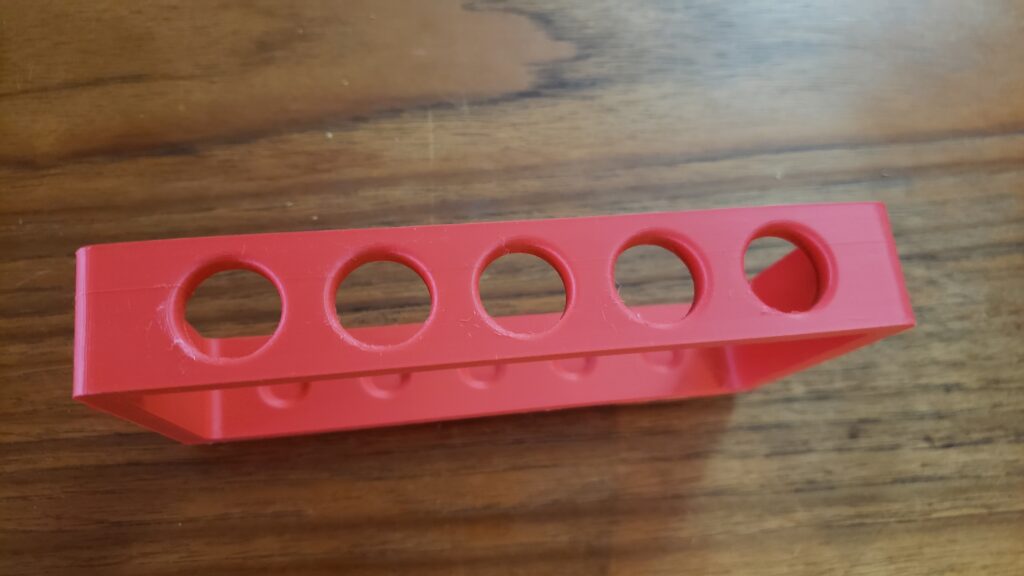
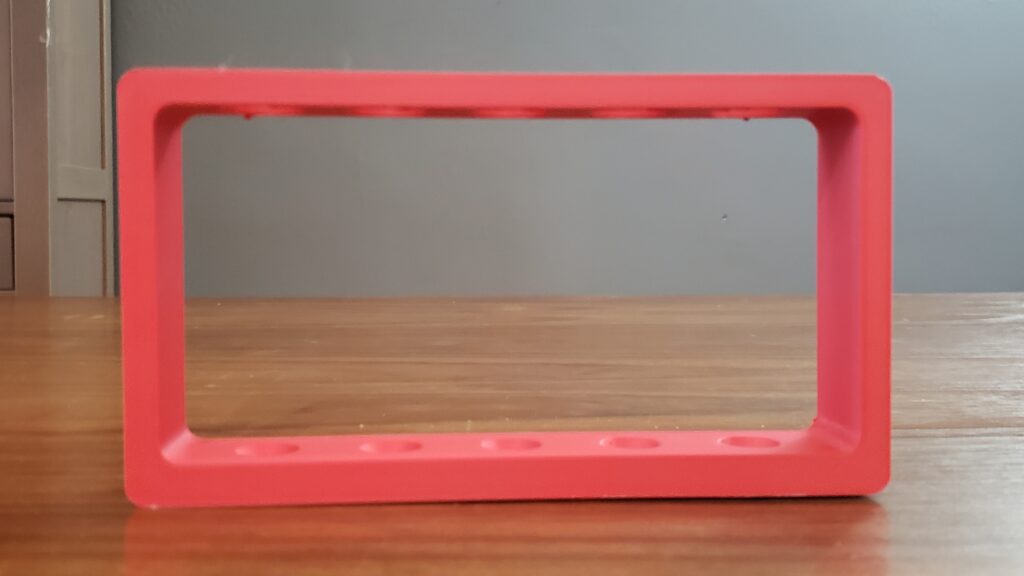
Here is how I 3d printed the toothbrush holder

I researched on how to 3d print a toothbrush holder for a day. Then I downloaded the file and printed it.
I put my toothbrush holder in the washroom. It is beautiful and holds the toothbrushes well.
Check the Thingiverse website link for the recommended filament before printing it.
There are a variety of different colors of filaments that can be used to print your toothbrush holder.
The sky’s the limit when it comes to different colors of filaments.
How to 3D print a toothbrush holder?
I have used EcoTough PLA 2.0 – 1.75mm – 1 Kg red filament, 1.75 mm, to print the toothbrush holder.
I downloaded the file from the Thingiverse site.

These are the steps which I took to print the toothbrush holder:
- Used Cura software to slice the file and then exported it to the SD card. After that, I checked to see if everything was good on my ender 3 pro 3d printer or not.
- I placed the filament on the spool holder and then levelled the bed.
- Inserted the SD card into the printer. Turned the printer on and did auto home on it.
- Checked to see the printer’s bed level accuracy by, printing the chep bed file.
- Once it was ready to print, I printed the file from TIF.
- Kept an eye on the printer while it was being printed.
- I let the printer cool down before I took the print off.
- Auto homed the printer and then turned the power button off.
- Took the SD card out of the printer.


